
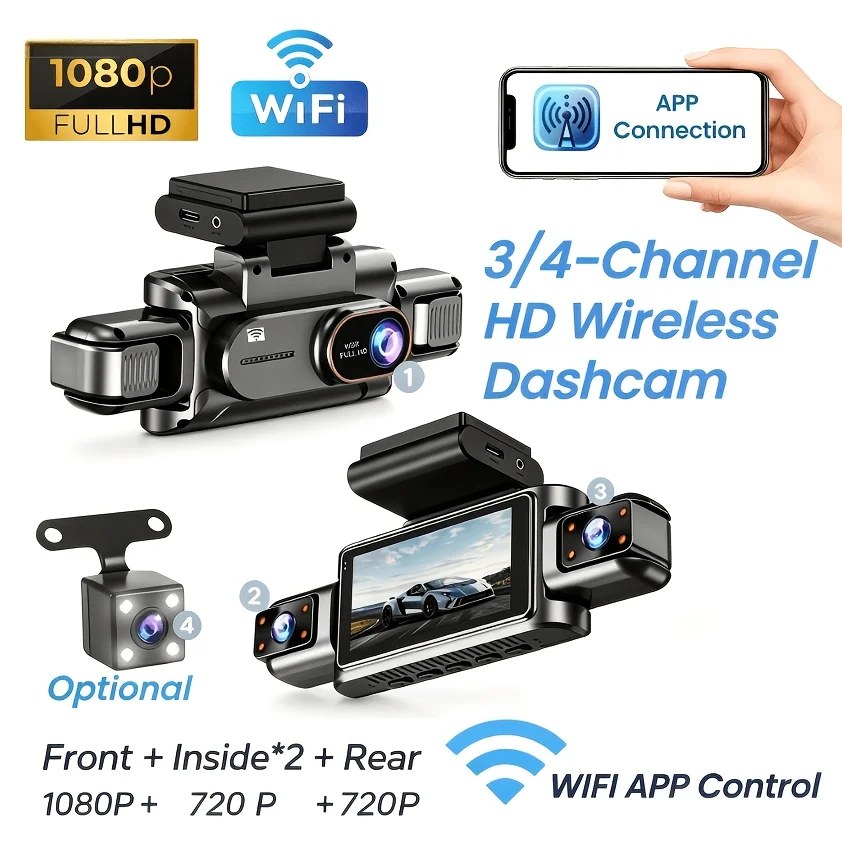
A dash cam in the wrong place gives you an obstructed view, a poor recording angle and a cable draped across the windscreen. Getting it right takes a few extra minutes at fitting.
The correct position
Behind the rear-view mirror, on the passenger side of it, high on the screen. This puts the camera roughly on the car’s centreline, keeps it out of your sightline because the mirror is already there, and gives it a clear view through the area the wipers clean.
Check the wiper sweep covers the lens. A camera mounted outside the swept area is useless in rain, which is precisely when you want it.
Positions to avoid
- Centre of the windscreen at eye level, which is an obstruction
- Low on the dashboard, where the bonnet fills the frame and reflections ruin the footage
- Over an airbag cover or where the cable crosses a curtain airbag path
- Behind a heated windscreen element or a rain sensor housing
- Against heavily tinted or shaded top bands of glass

Routing the cable tidily
- Tuck the cable up into the headlining above the mirror
- Run it across to the passenger side within the headlining edge
- Take it down the A-pillar trim, routing around any airbag
- Continue along the door seal to the dashboard edge
- Bring it out near the power socket or fuse box
A plastic trim tool avoids marking the panels. Most of this can be done by hand without removing anything.
Angle and final check
Aim for roughly two thirds road and one third sky. Too much sky and the camera exposes for brightness, darkening the road. Drive a short distance and review the footage before considering the job done.
Hard-wiring versus the 12V socket
A cable to the 12V socket is simple and reversible, but it occupies the socket and leaves a visible cable. Hard-wiring into the fuse box is tidier and enables parking mode properly.
- Identify a switched fuse for ignition-only power, or a permanent fuse for parking mode
- Use an add-a-fuse adapter rather than cutting into wiring
- Fit an appropriate inline fuse for the camera circuit
- Earth to a solid, unpainted body point
- Use a hard-wire kit with low-voltage cut-off if using parking mode
The low-voltage cut-off is the important part. Without it, parking mode will run the battery down until the car will not start, and repeated deep discharge will ruin the battery.
Rear cameras
A rear camera usually mounts inside the rear screen, which means running a long cable the length of the car. Route it along the headlining and down the same pillar as other wiring, keeping clear of curtain airbags.
On hatchbacks and estates the cable must cross into the tailgate, which flexes every time it opens. Follow the existing rubber conduit rather than running the cable loose, or it will chafe through within a year.
Checking it works before you need it
- Watch a full clip back on a computer, not just the camera screen
- Check a number plate is readable at a realistic distance
- Check night footage specifically, not just daytime
- Confirm the timestamp is set correctly, including the year
- Verify the wiper sweep covers the lens area in rain
Frequently asked questions
Will a dash cam mount damage the windscreen?
Adhesive pads are safe on glass but can be difficult to remove. Suction mounts are easier to reposition but more likely to drop in cold weather.
Can I fit one behind the mirror on a car with a camera cluster?
Often space is tight. Mount to one side of the cluster, staying within the wiper sweep and out of your sightline.
