
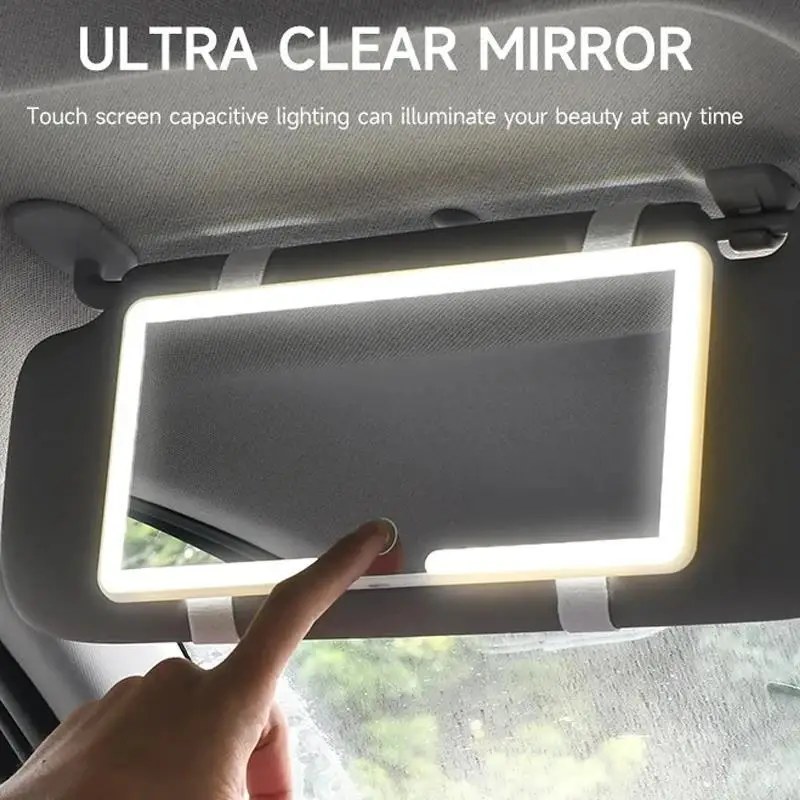
Interior trim strips are one of the cheapest changes you can make to a cabin, and one of the easiest to get wrong. Done well they add a clean line along a dashboard or door card. Done badly they peel at the corners and gather dust.
Where they work
- Along the dashboard seam, above the glovebox line
- Around air vent surrounds
- Along the top edge of a door card
- Around the centre console edge, where shoes scuff
They work best following a line that already exists. A strip applied across an unbroken plastic panel tends to look stuck on.
Fitting them properly
- Work in a warm car; adhesive will not bond in the cold
- Clean the surface and remove any interior dressing with an alcohol wipe
- Dry fit and measure twice, because you only get one attempt at the length
- Start at the least visible end so any error finishes out of sight
- Follow curves gradually, easing the strip rather than stretching it
- Press along the full length and leave it 24 hours
Why they lift
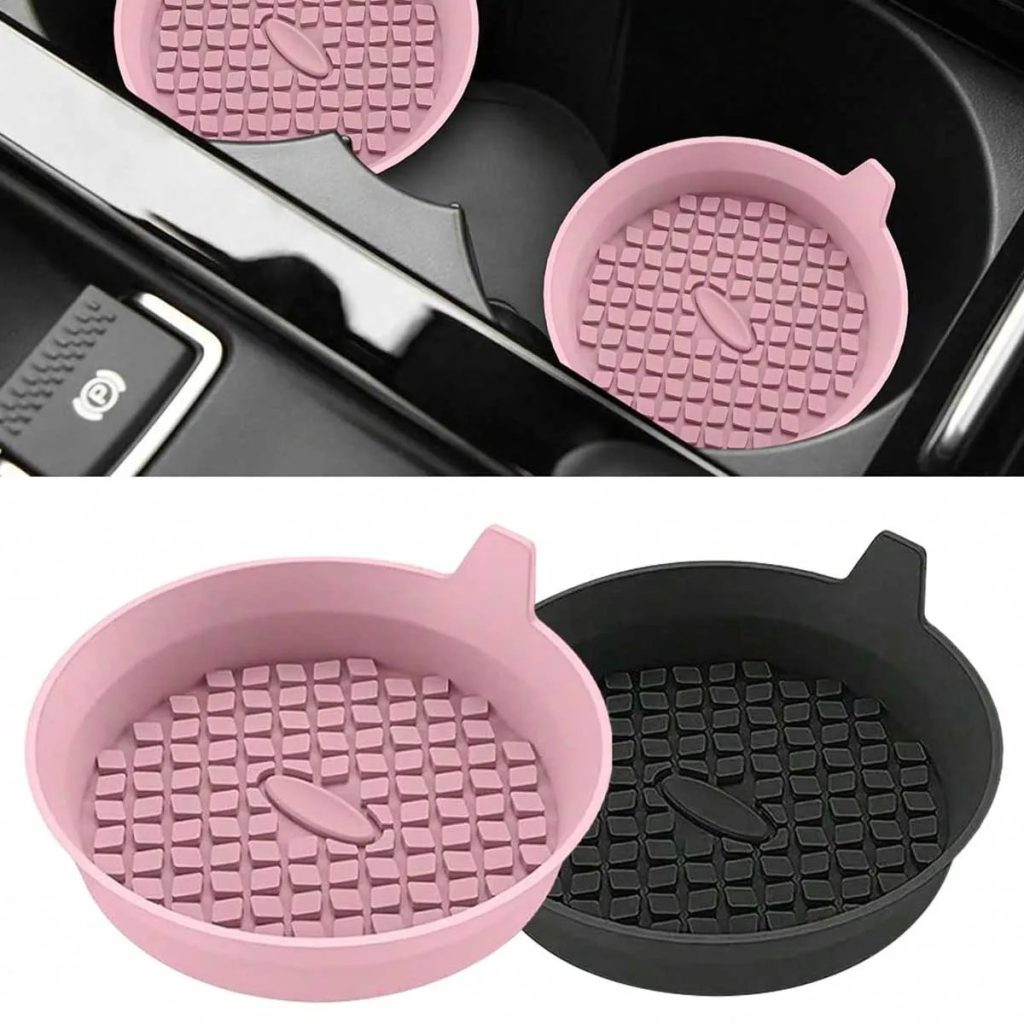
Two reasons dominate: silicone dressing on the plastic, and stretching the strip round a curve. A stretched strip is under constant tension and will pull itself off at the tightest point within weeks. Ease it into curves and let it sit relaxed.
Restraint
A strip along one line looks deliberate. Five strips in different places look like an accessory catalogue. Pick one or two and stop.
Matching materials to the cabin
The commonest mistake is a finish that does not belong. Carbon-effect trim in a cabin with wood and chrome looks incoherent, and bright chrome in a matt black interior draws attention to itself rather than to the car.
- Look at the existing brightwork and match its tone, warm or cool
- Piano black shows dust and fingerprints constantly in a light cabin
- Brushed aluminium effect is the most forgiving and suits most interiors
- Avoid mixing more than two finishes in one cabin
Removing trim without damage
- Warm the strip with a hairdryer on low for a minute or two
- Lift one end with a plastic trim tool, never a metal blade
- Pull slowly back on itself at a shallow angle rather than straight out
- Work along its length, re-warming if it resists
- Remove adhesive residue with a dedicated remover on a cloth
- Clean and re-protect the plastic afterwards
Pulling a cold strip off quickly is what tears soft-touch coatings and leaves a permanent mark.
Where not to put anything
Airbag covers are marked, usually with SRS or Airbag, and nothing should be applied over or across them. The same applies to the seam lines in an A-pillar or seat where a curtain or side airbag deploys.
Also avoid covering sensor apertures: rain and light sensors near the mirror, occupancy sensors in seats, and microphone holes in the headlining, which are easy to cover accidentally and annoying to diagnose later.
Frequently asked questions
Will trim strips damage the plastic?
On sound interior plastic, removal with gentle heat is usually clean. On sun-damaged, brittle dashboards there is a risk of marking.
Can I use them around a screen?
Keep clear of screens and any sensor apertures, and never obstruct an airbag seam.
