

LED strips are cheap and genuinely useful in a boot, which on most cars is lit by a single dim bulb in one corner. The fitting is easy; making it look like it belongs takes a little planning.
Plan the run before you stick anything
Adhesive-backed strip is unforgiving, so dry-fit first. Decide where the strip goes, where the wire runs, and where it will take power, then commit.
Aim to hide the strip itself so you see light rather than LEDs. Under a lip, behind a trim edge or along the underside of a parcel shelf support all work well.
Powering it
- Splice into the existing boot light so it comes on with the boot, which is the tidiest result
- Use an add-a-fuse at the fuse box for a switched permanent feed
- A USB-powered strip is the simplest option with no wiring at all
- Avoid wiring directly to the battery, which risks draining it
If splicing, use proper connectors rather than twisting wires together. A bad joint in a boot will corrode.
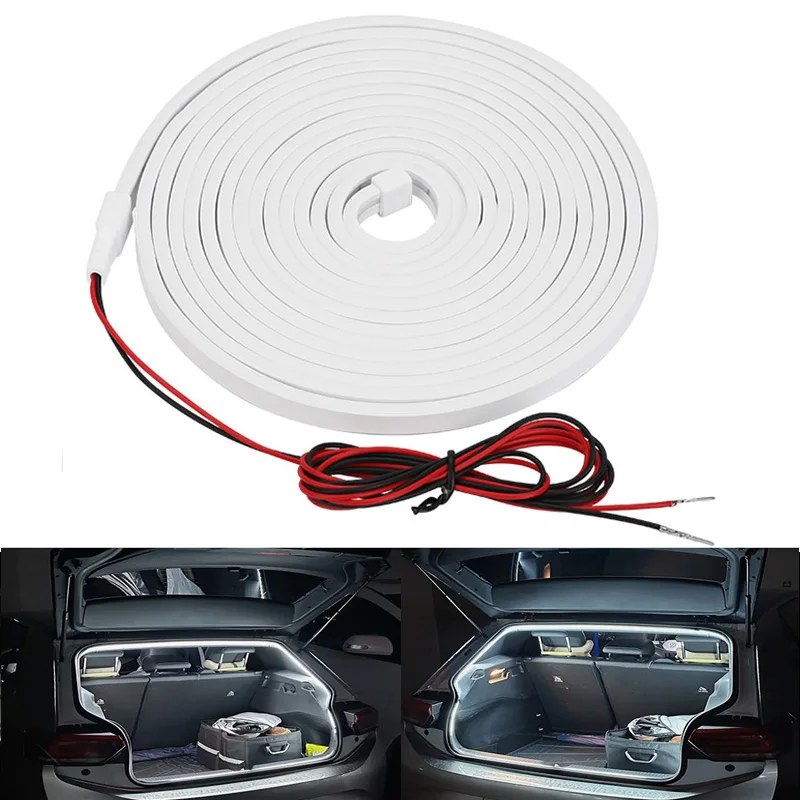
Routing
- Follow existing looms wherever possible, securing with cable ties
- Go behind trim panels rather than across them
- Leave a small service loop so the panel can be removed later
- Keep wiring away from hinges, the tailgate strut and anything that moves
- Check the boot closes fully and nothing is pinched
Footwell lighting
Footwell strips should point down and back, lighting the floor rather than the cabin. A strip that shines up into your eyes or reflects in the windscreen is dangerous at night. Keep it dim, and choose warm white rather than blue.
Waterproofing ratings
Boot areas get damp, particularly near the tailgate seal and in the spare wheel well. LED strips are sold with an IP rating indicating protection against dust and water.
- IP20: no water protection. Cabin only, away from doors.
- IP54: splash resistant. Acceptable in most boot locations.
- IP65 and above: sealed in silicone. The sensible choice near a tailgate.
Sealed strips are slightly harder to cut and join, but a failed strip behind a trim panel is considerably more annoying than the extra effort.
Soldering versus connectors
Solderless clip connectors are convenient and are also the most common failure point, particularly with vibration and damp. Soldered joints with heat-shrink are far more reliable and not difficult on LED strip pads.
If you use clip connectors, keep them inside the cabin rather than in a boot well, and check them after the first few months.
Testing before final assembly
- Connect everything temporarily before sticking anything down
- Check the strip lights fully along its length, not just at the feed end
- Confirm it switches with the door or boot as intended
- Check for interference with the radio, which cheap drivers can cause
- Only then peel the adhesive backing and route the cable permanently
Frequently asked questions
Will an LED strip drain my battery?
On a switched feed, no. On a permanent live with a strip left on, yes, within a few days. Use a switched source.
Can I cut LED strip to length?
Most strips have marked cut points every few LEDs. Cut only on those marks or the segment will not work.
